sudo cat > /etc/apt/sources.list << EOF
deb http://mirrors.aliyun.com/ubuntu/ bionic main restricted universe multiverse
deb-src http://mirrors.aliyun.com/ubuntu/ bionic main restricted universe multiverse

deb http://mirrors.aliyun.com/ubuntu/ bionic-security main restricted universe multiverse
deb-src http://mirrors.aliyun.com/ubuntu/ bionic-security main restricted universe multiverse

deb http://mirrors.aliyun.com/ubuntu/ bionic-updates main restricted universe multiverse
deb-src http://mirrors.aliyun.com/ubuntu/ bionic-updates main restricted universe multiverse

deb http://mirrors.aliyun.com/ubuntu/ bionic-proposed main restricted universe multiverse
deb-src http://mirrors.aliyun.com/ubuntu/ bionic-proposed main restricted universe multiverse

deb http://mirrors.aliyun.com/ubuntu/ bionic-backports main restricted universe multiverse
deb-src http://mirrors.aliyun.com/ubuntu/ bionic-backports main restricted universe multiverse
EOF
#您的Kubernetes控制平面初始化成功! Your Kubernetes control-plane has initialized successfully!
#要开始使用您的集群,您需要作为一个普通用户运行以下程序: To start using your cluster, you need to run the following as a regular user: mkdir -p $HOME/.kube sudo cp -i /etc/kubernetes/admin.conf $HOME/.kube/config sudo chown $(id -u):$(id -g) $HOME/.kube/config
#你需要部署一个网络插件到集群中才能够使Kubernetes网络运转起来 You should now deploy a pod network to the cluster. Run "kubectl apply -f [podnetwork].yaml" with one of the options listed at: https://kubernetes.io/docs/concepts/cluster-administration/addons/
#如果要添加其它控制平面到集群中使用以下命令 You can now join any number of control-plane nodes by copying certificate authorities and service account keys on each node and then running the following as root: kubeadm join k8s-devops.io:6443 --token 8r7sjk.9a31rmcjot9650fe \ --discovery-token-ca-cert-hash sha256: \ --control-plane
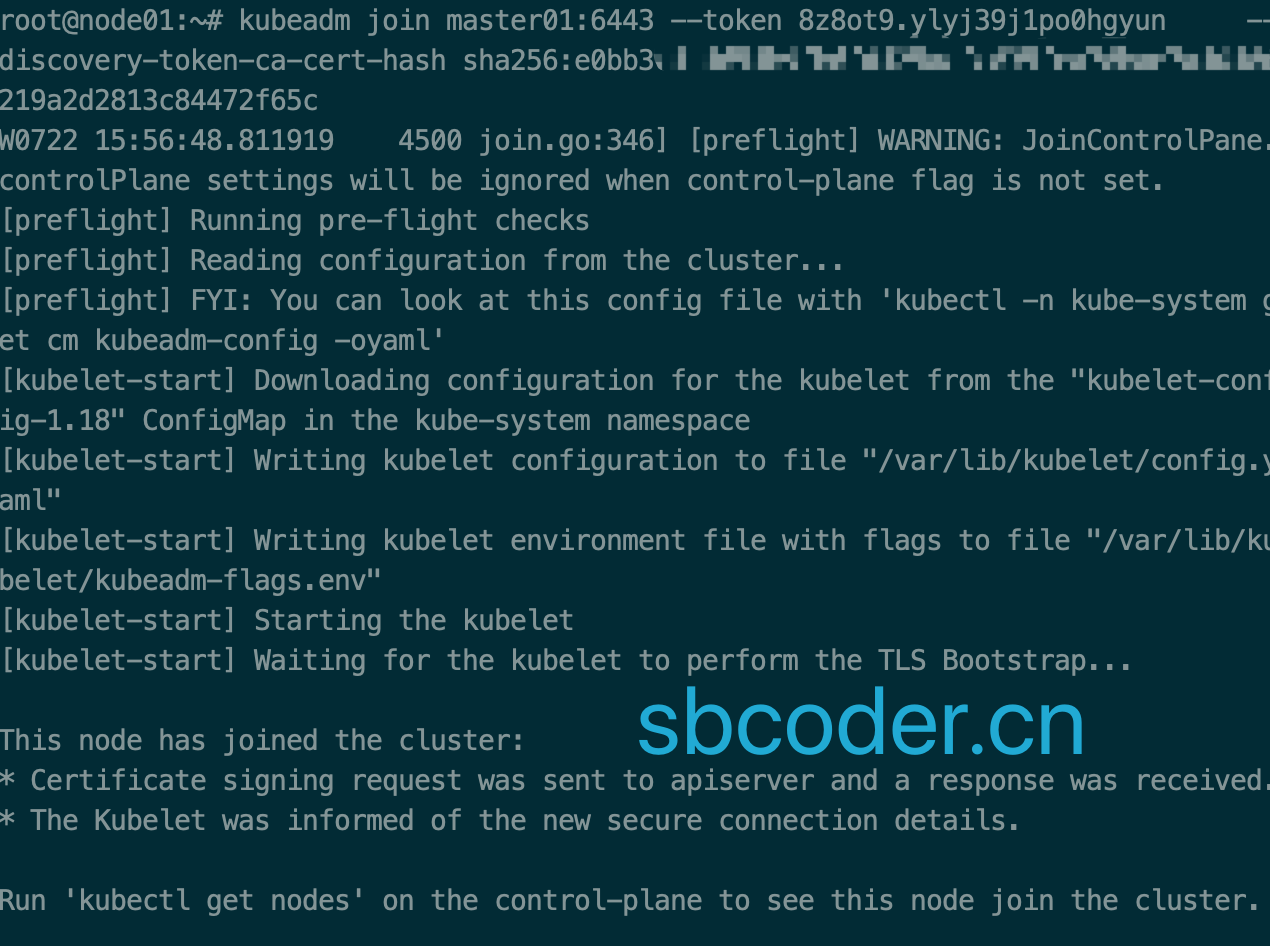
#如果要添加数据平面节点到集群中使用以下命令 Then you can join any number of worker nodes by running the following on each as root: kubeadm join k8s-devops.io:6443 --token 8r7sjk.9a31rmcjot9650fe \ --discovery-token-ca-cert-hash sha256:
创建用户
1 2 3 4 5
root@master01:~# useradd -m -s /bin/bash k8s  # 创建用户
root@master01:~# passwd k8s  					# 设置密码
Enter new UNIX password:
Retype new UNIX password:
passwd: password updated successfully
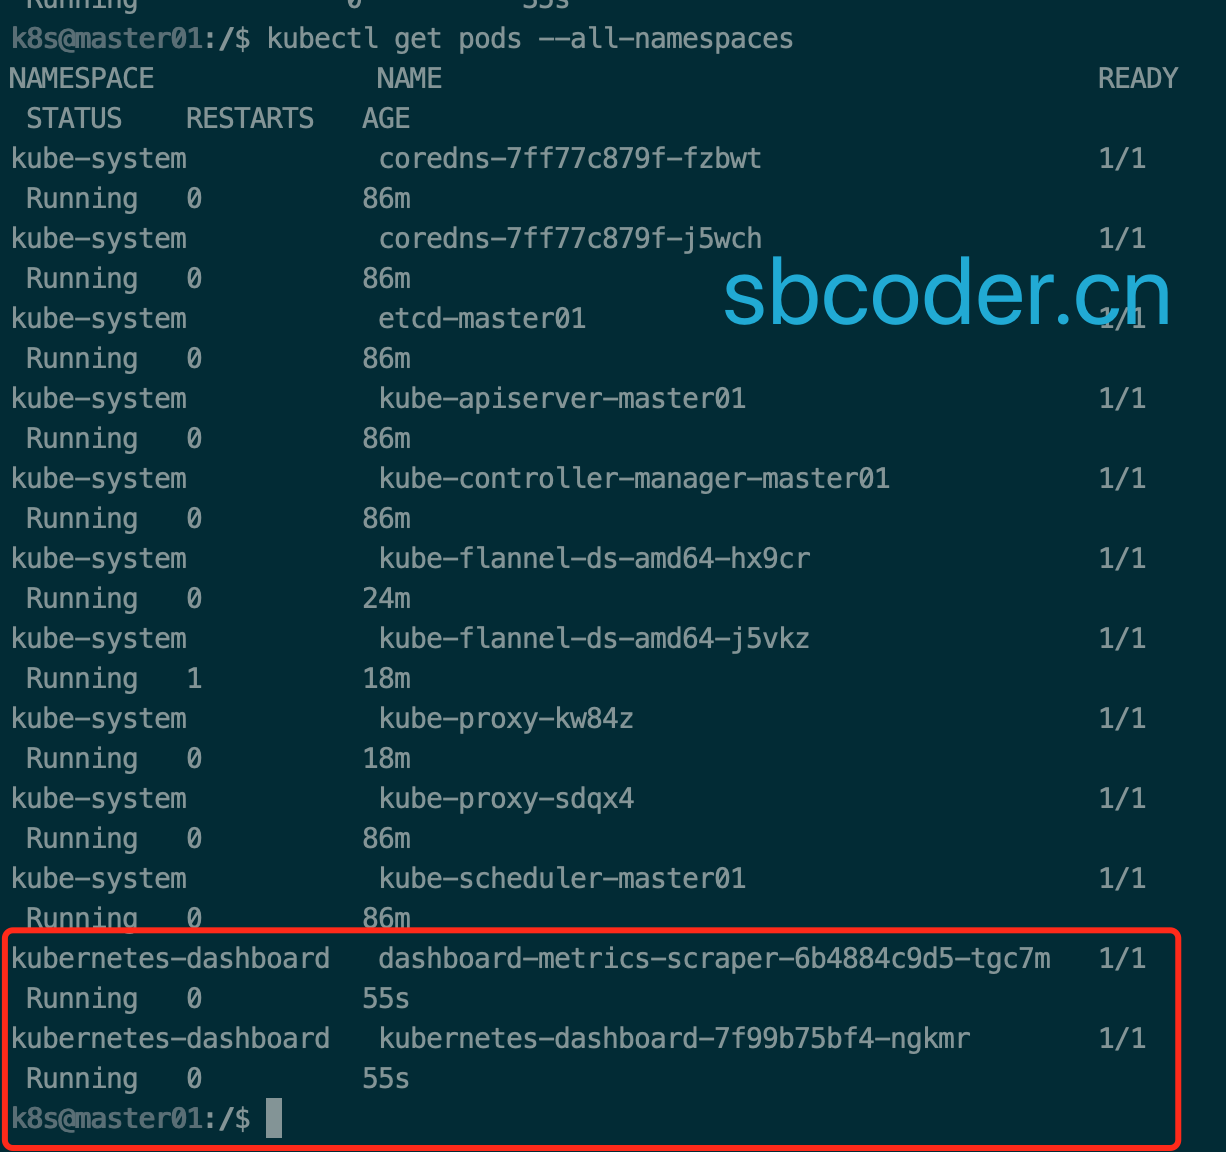
k8s@master01:/$ kubectl apply -f kube-flannel.yml
podsecuritypolicy.policy/psp.flannel.unprivileged created
clusterrole.rbac.authorization.k8s.io/flannel created
clusterrolebinding.rbac.authorization.k8s.io/flannel created
serviceaccount/flannel created
configmap/kube-flannel-cfg created
daemonset.apps/kube-flannel-ds-amd64 created
daemonset.apps/kube-flannel-ds-arm64 created
daemonset.apps/kube-flannel-ds-arm created
daemonset.apps/kube-flannel-ds-ppc64le created
daemonset.apps/kube-flannel-ds-s390x created

 容器1.png
 容器2.png
 01.png
 02.png
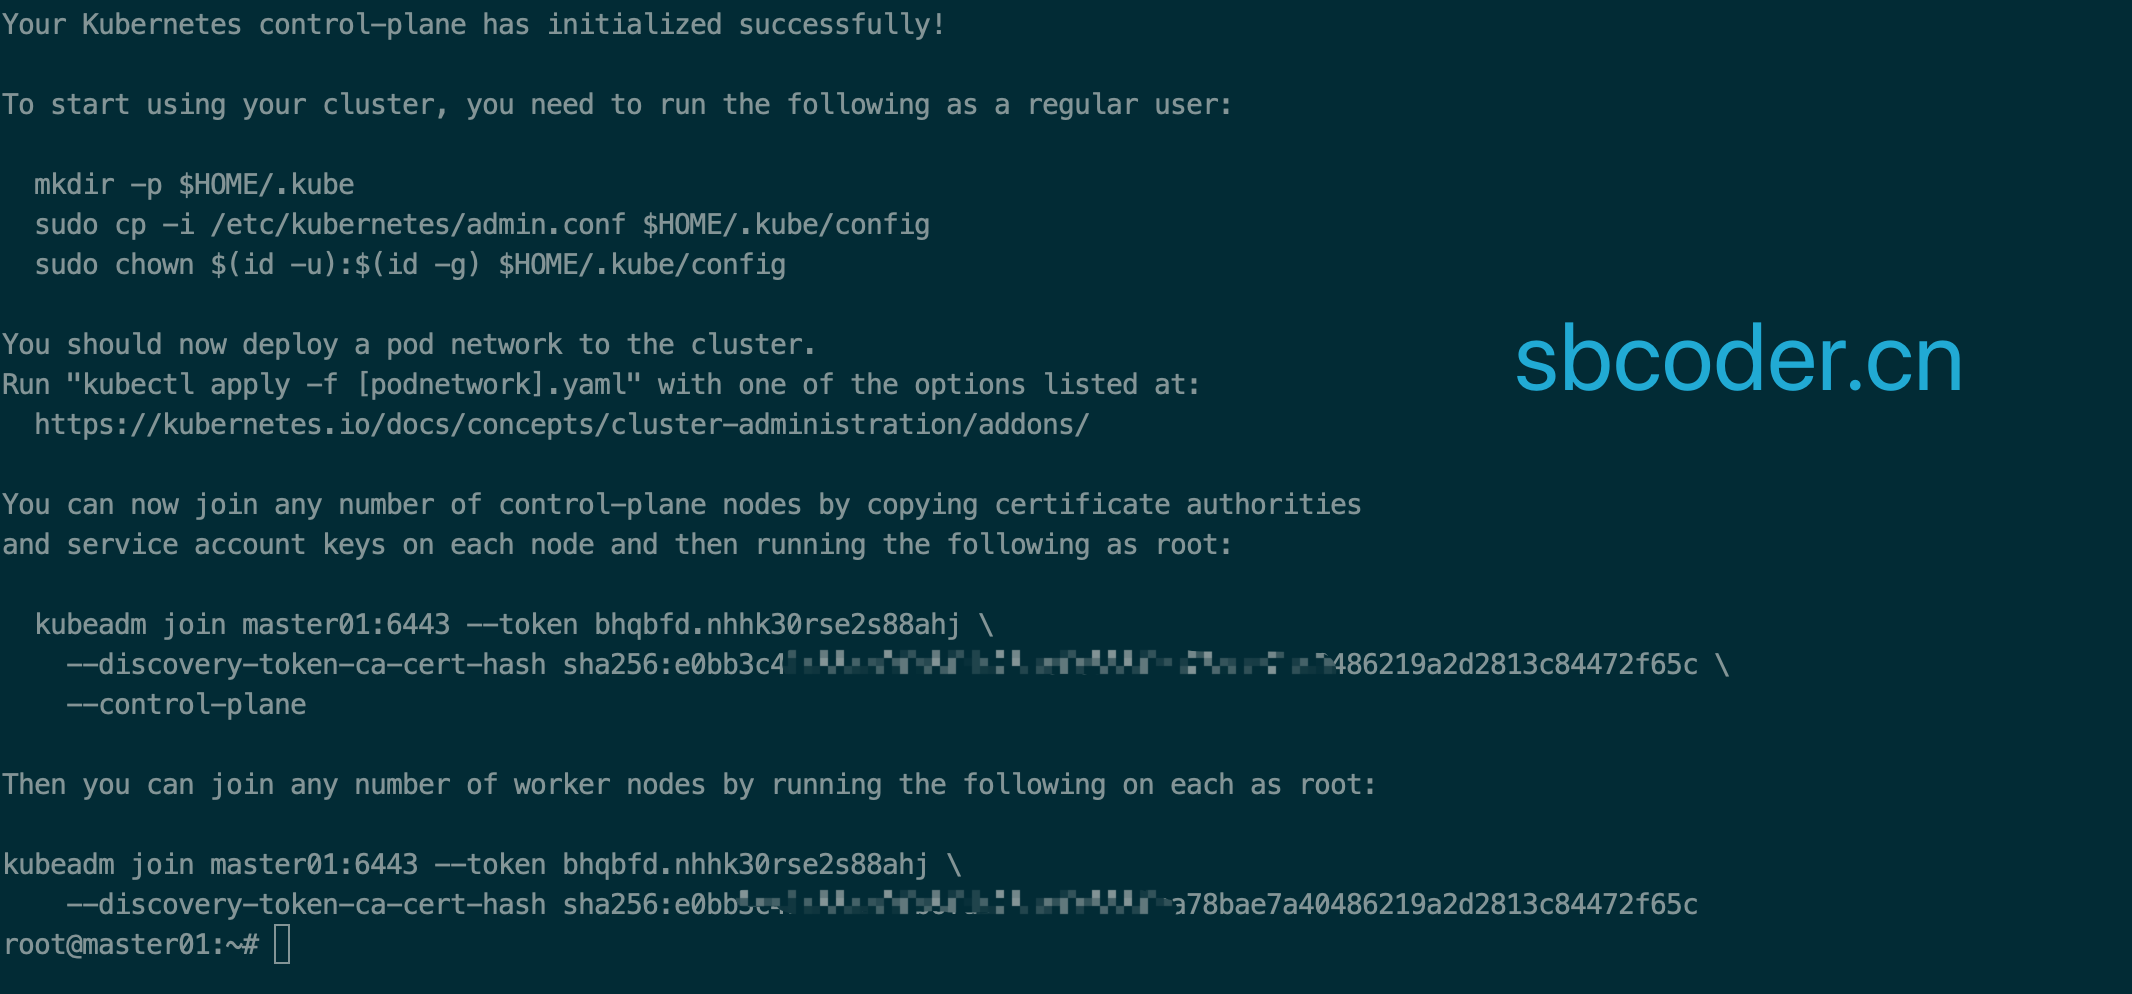 03.png